Tool for creating elevation from 3dsMax™ objects. This tool extract visible edges as spline and lay them accordingly as object elevation(s) for further use with AutoCAD™ document.
Features:
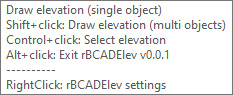
Button tooltip explained: Single (click Draw Elevation button) or multiple objects (Shift+click button; only use world coordinates) mode elevations. By default use object local coordinate system. Shift+click will create single contiguous elevation for all selected objects, while click will create multiple elevations for each selected object(s). Only selected GeometryClass will be processed, the others will be ignored.
Control+click: select all created elevations in scene
Produce separate elevations (default: Top, Front, Side). Configured in settings below
Planar or local object elevation results (default: Planar)
Save elevations into .dwg format (default:false)
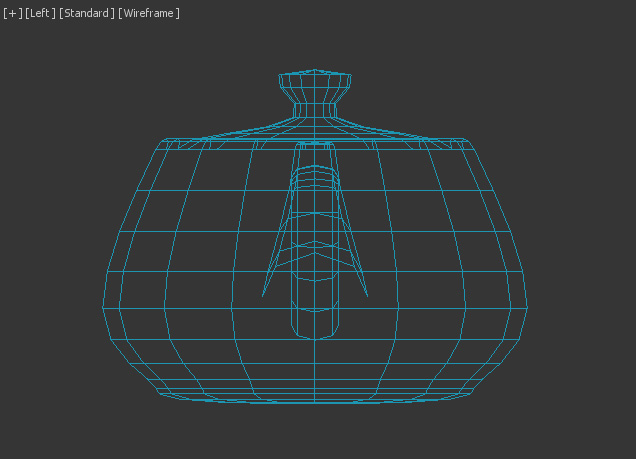
Nerd info: The script check only FaceNormal against axis direction to calculate which face should be drawn. There are several methods which can further refine the result but too intense for high poly count, so right now I’ll stick to this simpler solution. The downside is, the polygons behind the same geometry with normal facing the axis will still be drawn. For example, the spout on teapot on the right should not be visible.
Settings:
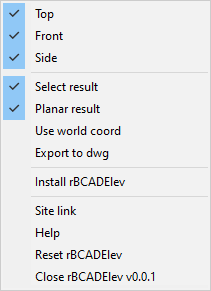
All settings can be accessed from rightclicking the interface. Summarize below:
The first three rows are active elevations. Each can be deactivated. Must have at least one activated. By default will activate Top when all turned off
Select result: Automatically select created elevation(s)
Planar result: Will lay all elevations in z plane of selected object(s). When off, will place the elevations according to object’s local axis or world axis if Use world coord is on
Use world coord: Instead using local object coordinates, will use world coordinates. With Planar result on, elevation will be drawn according to local object z-axis. Object with rotated transform (not aligned with world coordinate) will produce unexpected elevation placement. Ex: object built from rectangle drawn in left viewport. Use resetXform or this option to fix it
Export to dwg: Save result to .dwg file. If maxfile isnt saved yet, will open save dialog. If maxfile is saved, will save .dwg to maxfile folder. When filename already exist, will create unique filename. The folder used will be opened after saving .dwg file
Install rBCADElev: Install the macroscript. Remember to NOT move script file after installation otherwise macroscript will not work anymore. After installation this item will be hidden until user do Reset rBCADElev or manually removing .mcr or .ini file. The installation will list all files installed in listener. After installation, the script can be found under rBScript category
Site link: Link to this web page
Help: Little summary of what this script do
Reset rBCADElev: Reset this script. There are option whether to uninstall (if installed) or just reset all settings to default
Close rBCADElev: Close the script. Alt+click Draw Elevation button does the same
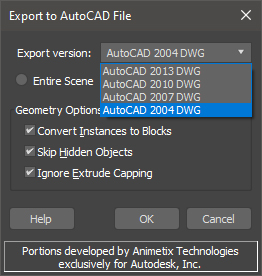
Export to dwg use #noPrompt flag to suppress dialog window, which mean it use whatever settings used last with dwg exporter. If .dwg file failed to open (higher version popup), try to manually export via 3dsMax menu first and in dialog window set Export version to lowest version. The script will use this settings as default afterward.
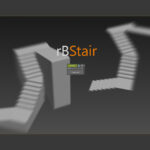
Depend on selected object(s) poly count, this script will activate progress bar to help visualize what’s going on.